Wow, its been over a month since I posted, I can't believe its been that long. I guess time does fly when your having fun. When I last left you, I was sorting out some of the engine bits before taking them off to the machine shop. Well, still waiting for them to return but according to the machinist, all will be well. I will end up with a 3.577L engine in the end. With the motor out, I turned my attention back to the body. Having procrastinated long enough, its time to actually tie the front and back together so I can get the body off the frame.
I have been at a point for quite a while where I could have welded the body together but it is such finality. I guess the thing that has been holding me back is the alignment of the doors. Not front to back or top to bottom but in/ out. I believe the problem is the door itself but with all the brackets and such out for chroming, I can't be sure. I think I can ultimately solve this with the alignment of the rear fender. Just to be sure, I'll just tack them for now.
 |
| So, here it is. In the light for the first time in 6 months. It actually looks like an XK120. How exciting |
 |
To facilitate the lift without folding the car in half, I fastened braces between the top pillars and dash. These made great rigging points, too
|
 |
I know not everyone has one but you should. A lift is so very handy. Here is the body off the frame (and still in one piece)
|
 |
Thanks to Jaglovers.org, I have a well fashioned cart for the body.
|
With that task finally done, I can start making progress again. Next project is the frame. At this point, I must admit I was hopeful the frame would require very little repair. I was very wrong.
 |
First step, strip down the frame. For the most part this wasn't too bad. An impact wrench and some WD40 work wonders. All except the leaf spring front mounts. Those were painful.
|
 |
Woe is me. As you can see, large rust holes on both sides of the frame. See that pile of dirt in the photo, that was just the beginning. Ultimately, I remove 50lbs of dirt and rust out of the frame.
|
 |
And more rust at the back where the frame arcs up over the wheels.
|
 |
| So, I decided the best place to start is at one end and work my way around. Here is front left bottom side with all the rust removed. |
 | I didn't show all the steps but I repaired 4 individual pieces to try and mimic the original assembly.
|
 |
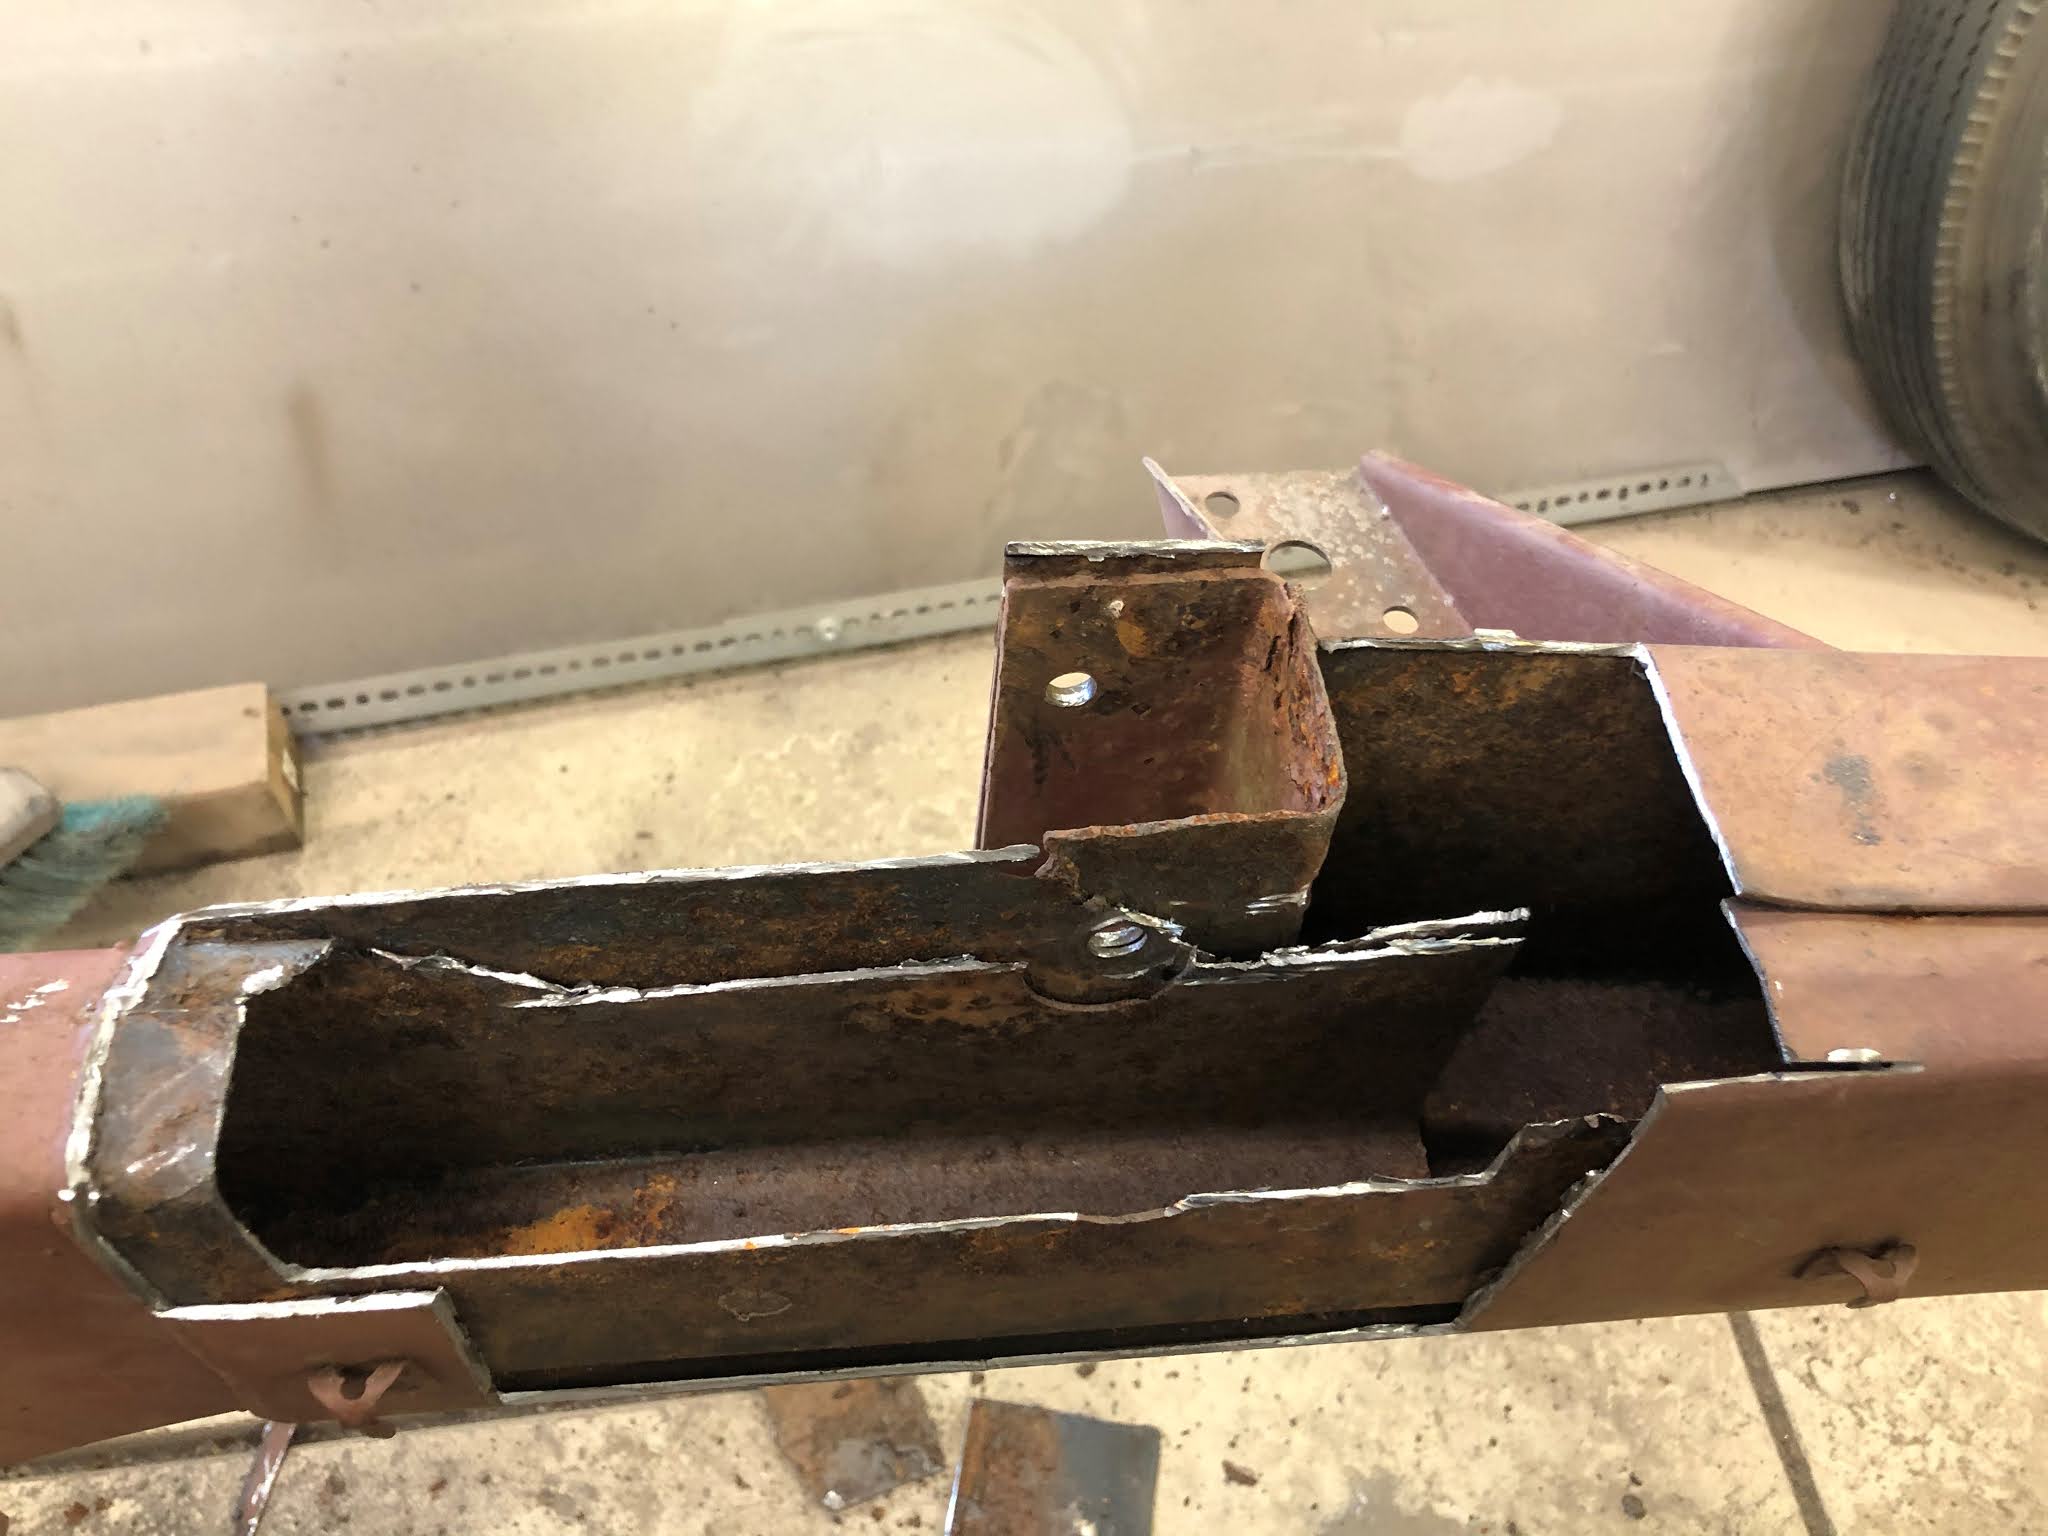
Working my way around, the next repair is the front leaf spring mount. This is probably the worst spot on the car. Like the previous spot, several pieces had to be repaired to get to the final repair.
|
 |
Overall, I am very pleased. I think once its painted, it will be hard to distinguish my work from the factory.
|
 |
Different view of the same location
|
 |
Now, moving to the passenger side. The bottom side was badly rusted and I ended up cutting more from the sides.
|
 |
This is one of the rear shock mounts. I thought I could just tack up the holes but it was just too far gone. As you can see, the original had an indented bolt mount that I would have to reproduce.
|
 |
| As I don't do this for a living, I don't have a dimple die set or press large enough to handle this task so I have to improvise. First, find something with the correct OD (Lower suspension arm) |
 |
Next find something with the correct ID, a socket, I don't remember exactly what size.
|
 |
Using a piece of 3/8 all thread, I pull the metal into the arm to create the indention.
|
 |
While it is clamped under pressure, I hammer around the outside to flatten the metal. I also follow this up on an anvil to make sure its flat.
|
 |
Tada, indention duplicated
|
 |
| And welded in place. |
 |
Top view of repaired area
|
 |
Side view of repaired area
|
 |
Next stop, the front leaf spring mount on the passenger side. Not quite the same damage as the driver side. This one required the leaf spring casing to be cut out and replaced.
|
 |
| Spring mount passenger side complete. |
 |
View from inside frame
|
 |
| The passenger side required a little repair between the spring mount and the front. |
 |
And finally, I've made my way around the frame to the front passenger side. Essentially the same damage as the driver side.
|
 |
As with the other side, it took several pieces to get to the final look.
|
 |
And now, after sand blasting and more repair, the final frame. This is not the final finish, this is 2 coats of self etching primer and epoxy primer. I want to wait until everything fits. body on, body off, body on, body off.
|
I've made this comment before but think it worthy of mentioning again. Each of the before and after photos above span a period of 3-4 hours of cutting, grinding, cutting, welding and grinding. You must have patience to do the job right. In the end, I am very pleased with the finish product. Since I knew I would be painting (or priming as it were), I wanted to make the most of it.
 |
Here a pile of suspension parts just out of the sandblast cabinet
|
 |
And tada, same parts painted. Similar to the frame, I am only priming the parts until I decide whether I will paint or powder coat. I want to test fit everything before adding the top coat.
|
Its been 7 months since I started this project and while I feel I'm making great progress, I don't believe I will hit my 1 year target. The holidays are upon me and I find myself waiting for parts, choming and the machine shop. I believe I will soon come to a stand still but do still have a few projects to bide my time.
- Finish body work on the boot. While I was able to get the boot lid to fit, there still isn't quite enough spacing.
- Rebuild the transmission - I haven't even touched it yet. Not super high on my list but still something to be done
- Repair the rust holes in the front. With all the damage in the boot area, I have spent very little time on the front.
- Tear down rear axle and rebuild