Last week I bought the floor pans and other parts so while I'm waiting, I can take care of some of the little things.
Starting to sort through the many boxes and bags of parts, with the help of Viart, I'm finding out where some go.
 |
I found most of the parts for the clutch. Missing the bits on the transmission side.
|
 |
Brakes not so good. I have the bracket and.... nothing else. I might have the pedal but not sure since I don't have anything else.
|
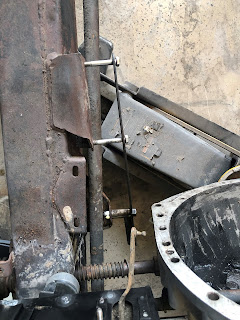
Having found quite a few things I know I'll be using, time to clean some of parts.
 |
After 4-5 hours with the sand blaster, I've cleaned the driveshaft cover, fuel filler and misc brackets and lever.
|
I'm working diligently to get to the end of all the fabrication and with the cost of vent boxes being $200+ and the assembly being fairly straight forward, I decided to make my own.
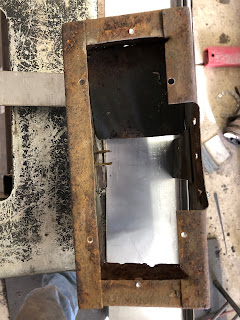 |
Here is the old box, actually not too bad and I could probably salvage them if I really wanted. The design is from a single piece of sheet metal.
|
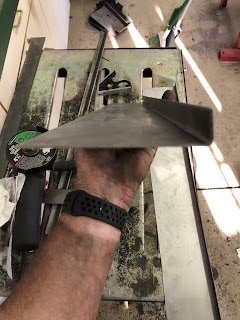 |
First step, bend the sheetmetal
|
 |
Next, mark each of the bends and cut the lip so I can fold it.
|
 |
Folded box
|
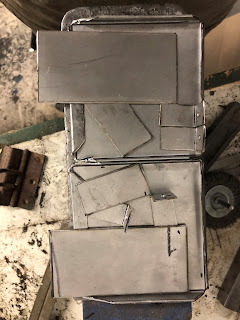 |
Here are all the bits that go into the boxes. Decided to cut all of them at once to make assembly faster.
|
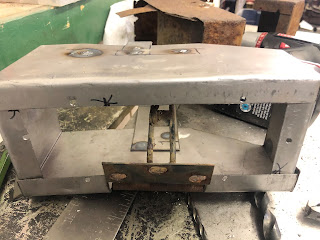 |
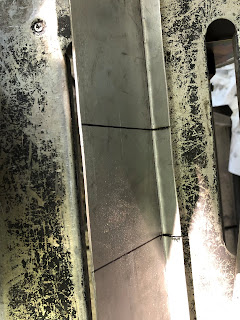
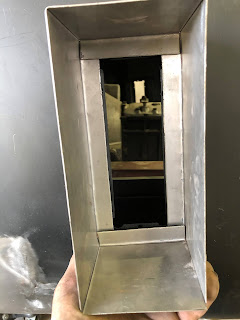
The almost finished box. I still need to sandblast the hinge.
|
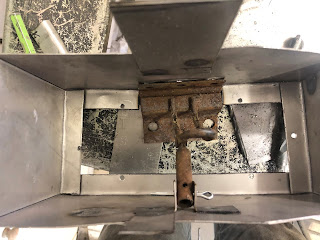 |
| And a view from the inside. |
With the vent boxes made, quite a few parts cleaned and the floor panels having arrived, I want to put the car back together so trying to ensure everything underneath is done.
 |
| Boot is back on the frame and next time it comes off, it will be one body. |
 |
Before I paint anything, I'm going to make sure all mechanical pieces fit. I don't want any surprises.
|
 |
It is really starting to look like its supposed to. The only rust left on the body is at the nose. Still not sure on the frame. I've repaired the rear of the frame but know one of the anti-roll bar mounts needs repaired on the front. Soon it will be off to the blaster.
|


